Odoo WorkOS Guide
Every screen, with the screen in front of you
The Odoo WorkOS guide: how automatic Odoo timesheets, attendance, focus reports and project budgets work in practice. Nine chapters and thirty-six screenshots, taken from a running install rather than drawn. Read start to finish it is a walk-through of the whole product — from the desktop tracker and your own day to running a team and project budgets; read one chapter and it is the manual for that screen. New to the mechanism? Start with how Odoo automatic time tracking works.
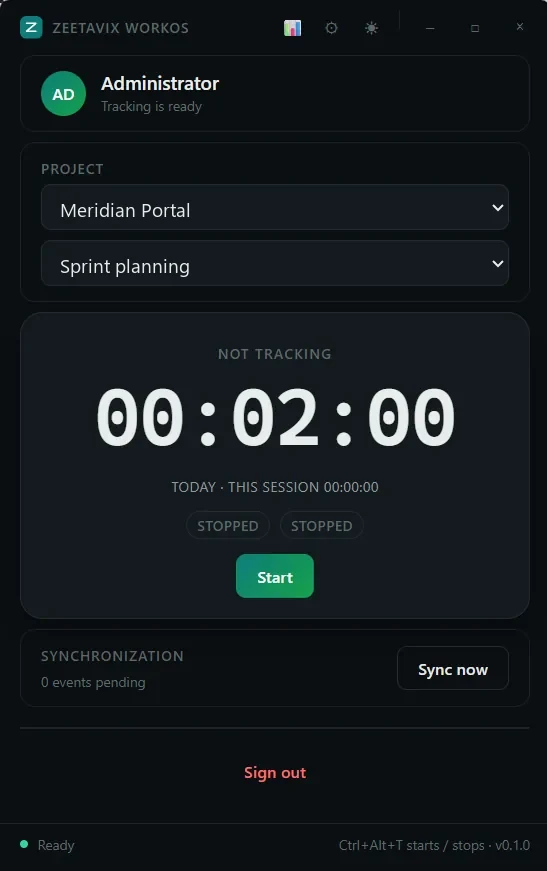
The app on the desk
Small, quiet, and the only part of the product most of your team will ever open.
Read the chapter →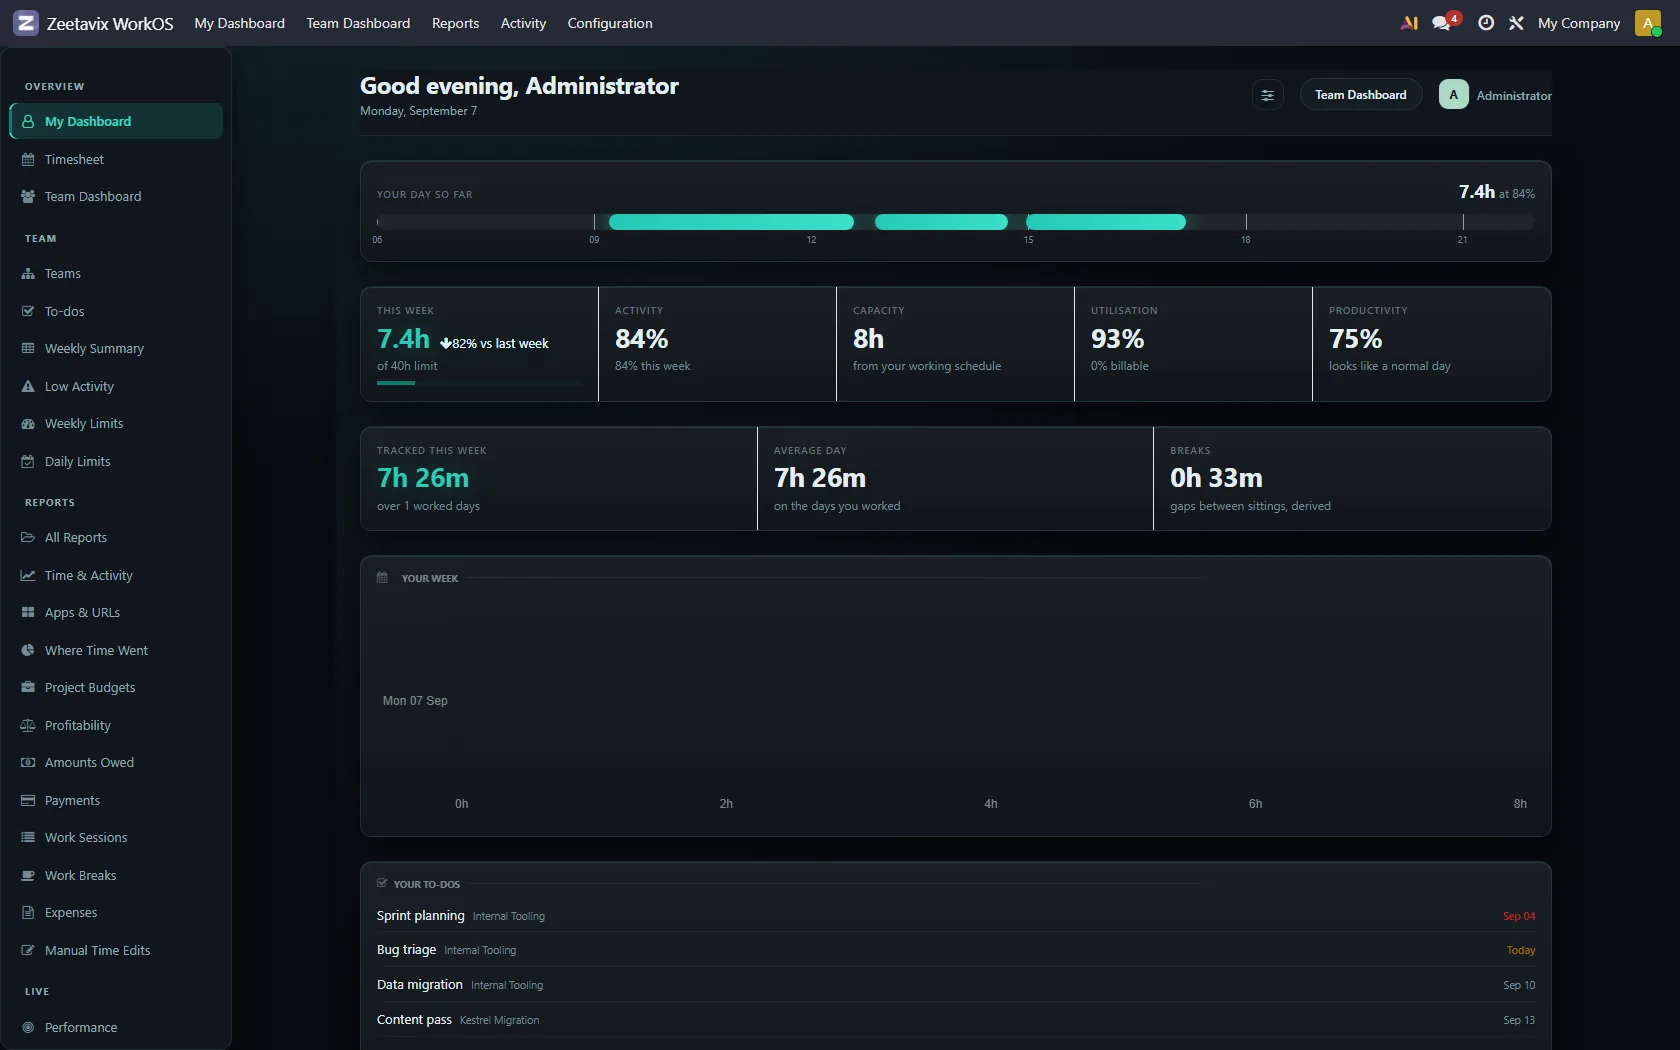
Your own day
The screen everybody sees first: what you tracked, when, and what it means.
Read the chapter →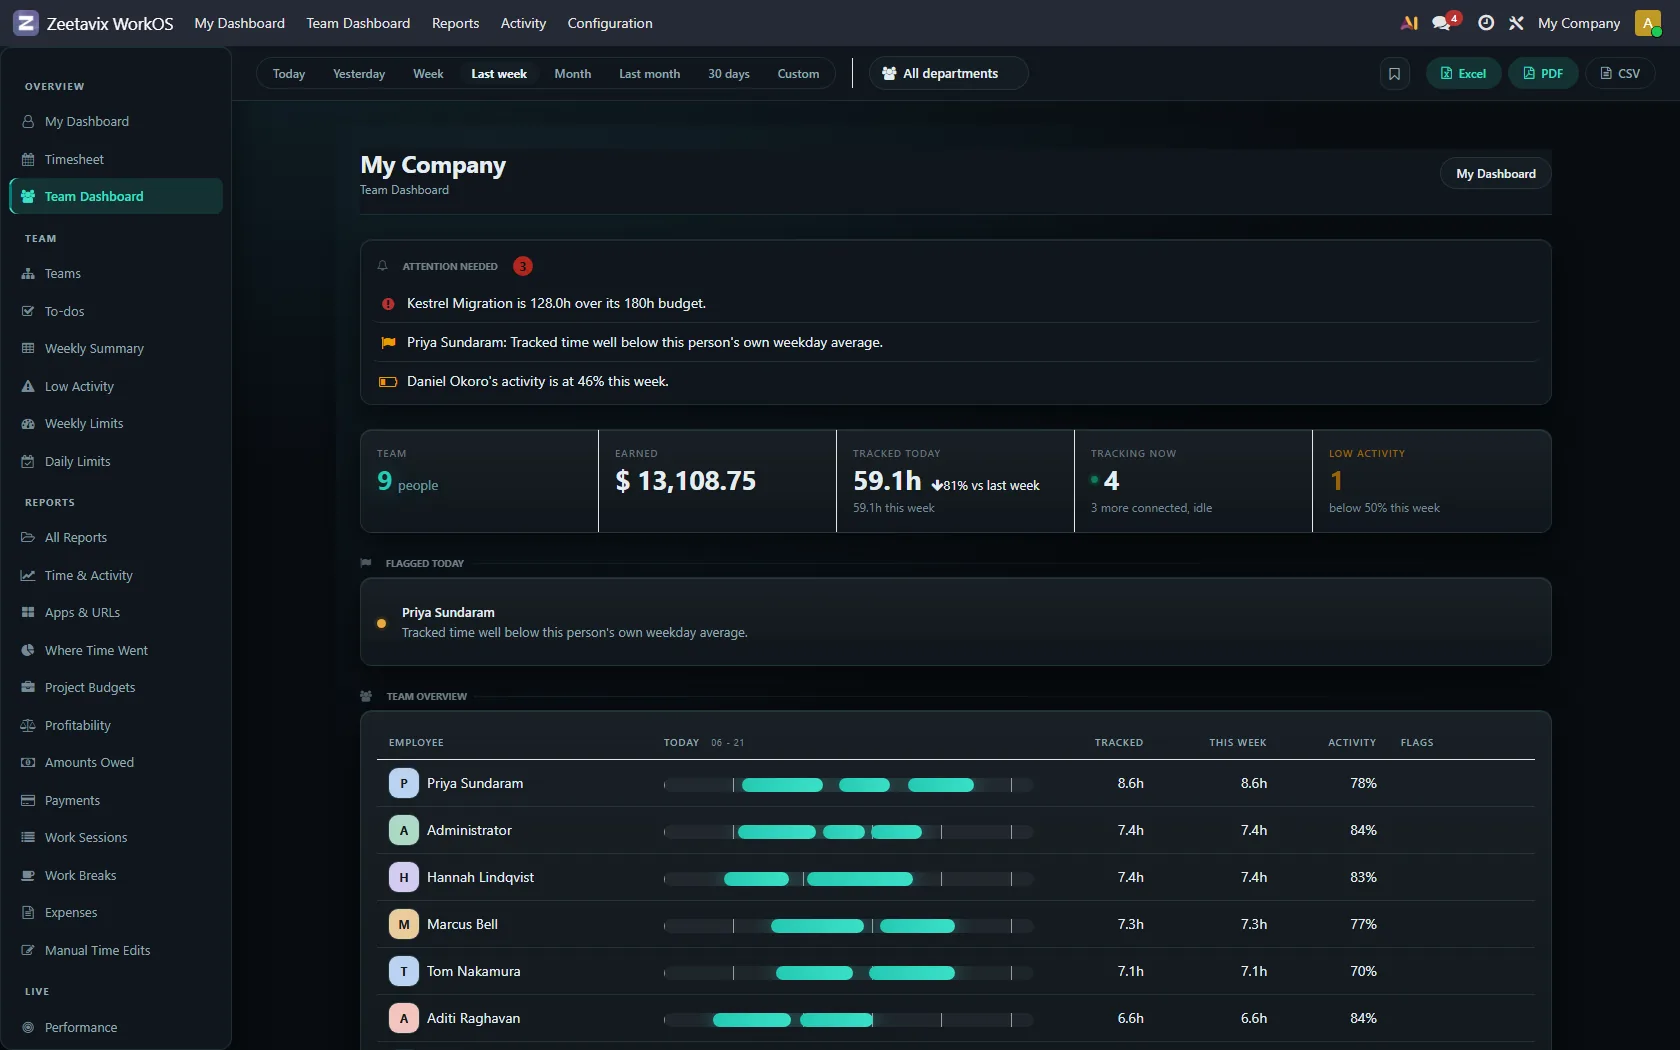
Running a team
Six things worth a decision this morning, ranked, instead of eight screens to check.
Read the chapter →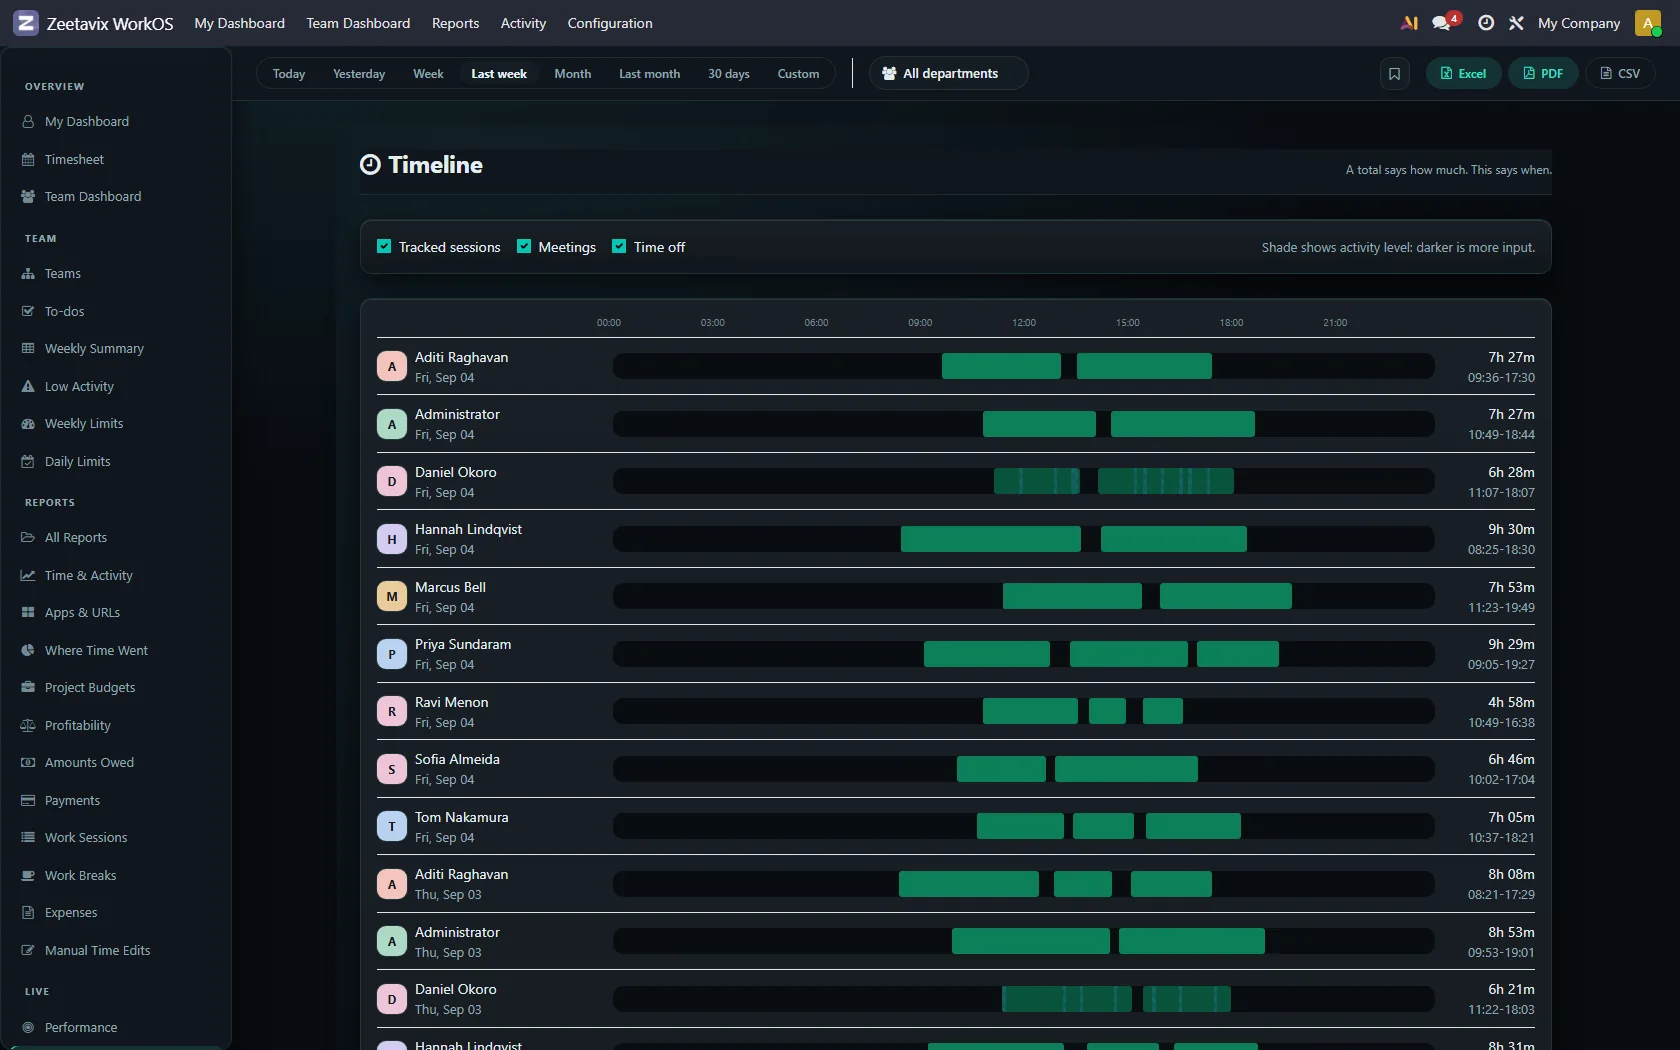
The reports
Where the hours went, which applications they went into, and what the day looked like.
Read the chapter →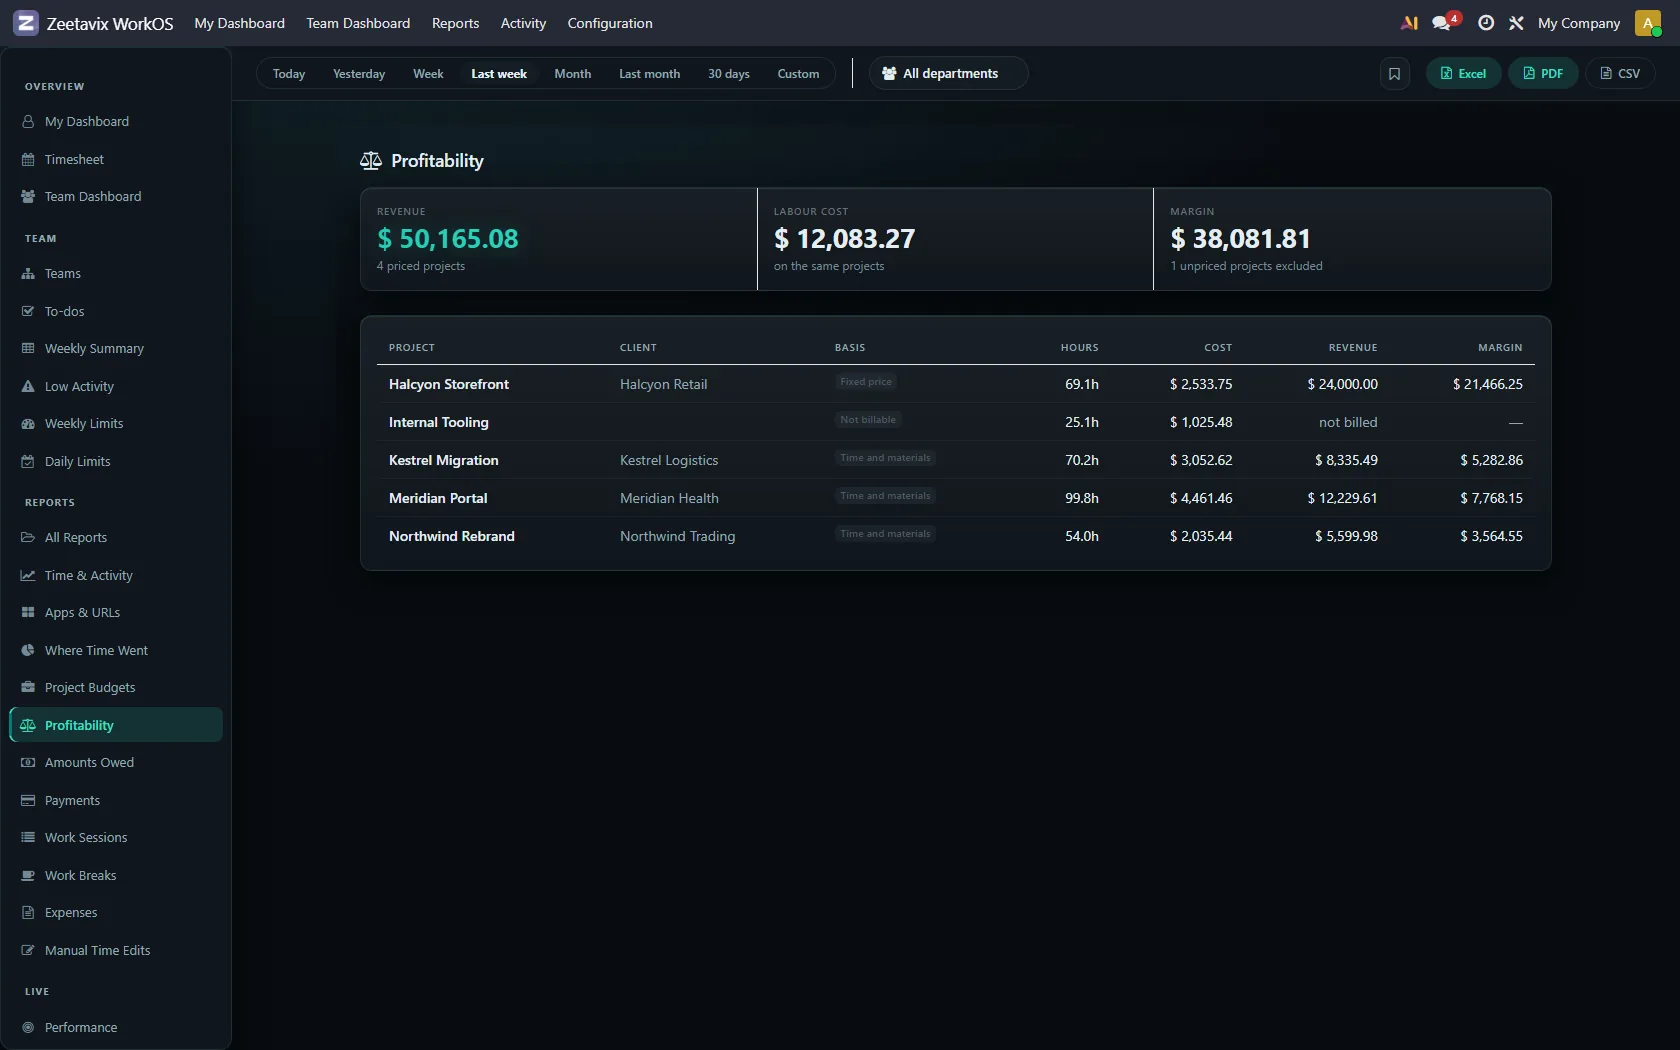
Money
Margin per project, what is owed, and who is allowed to see any of it.
Read the chapter →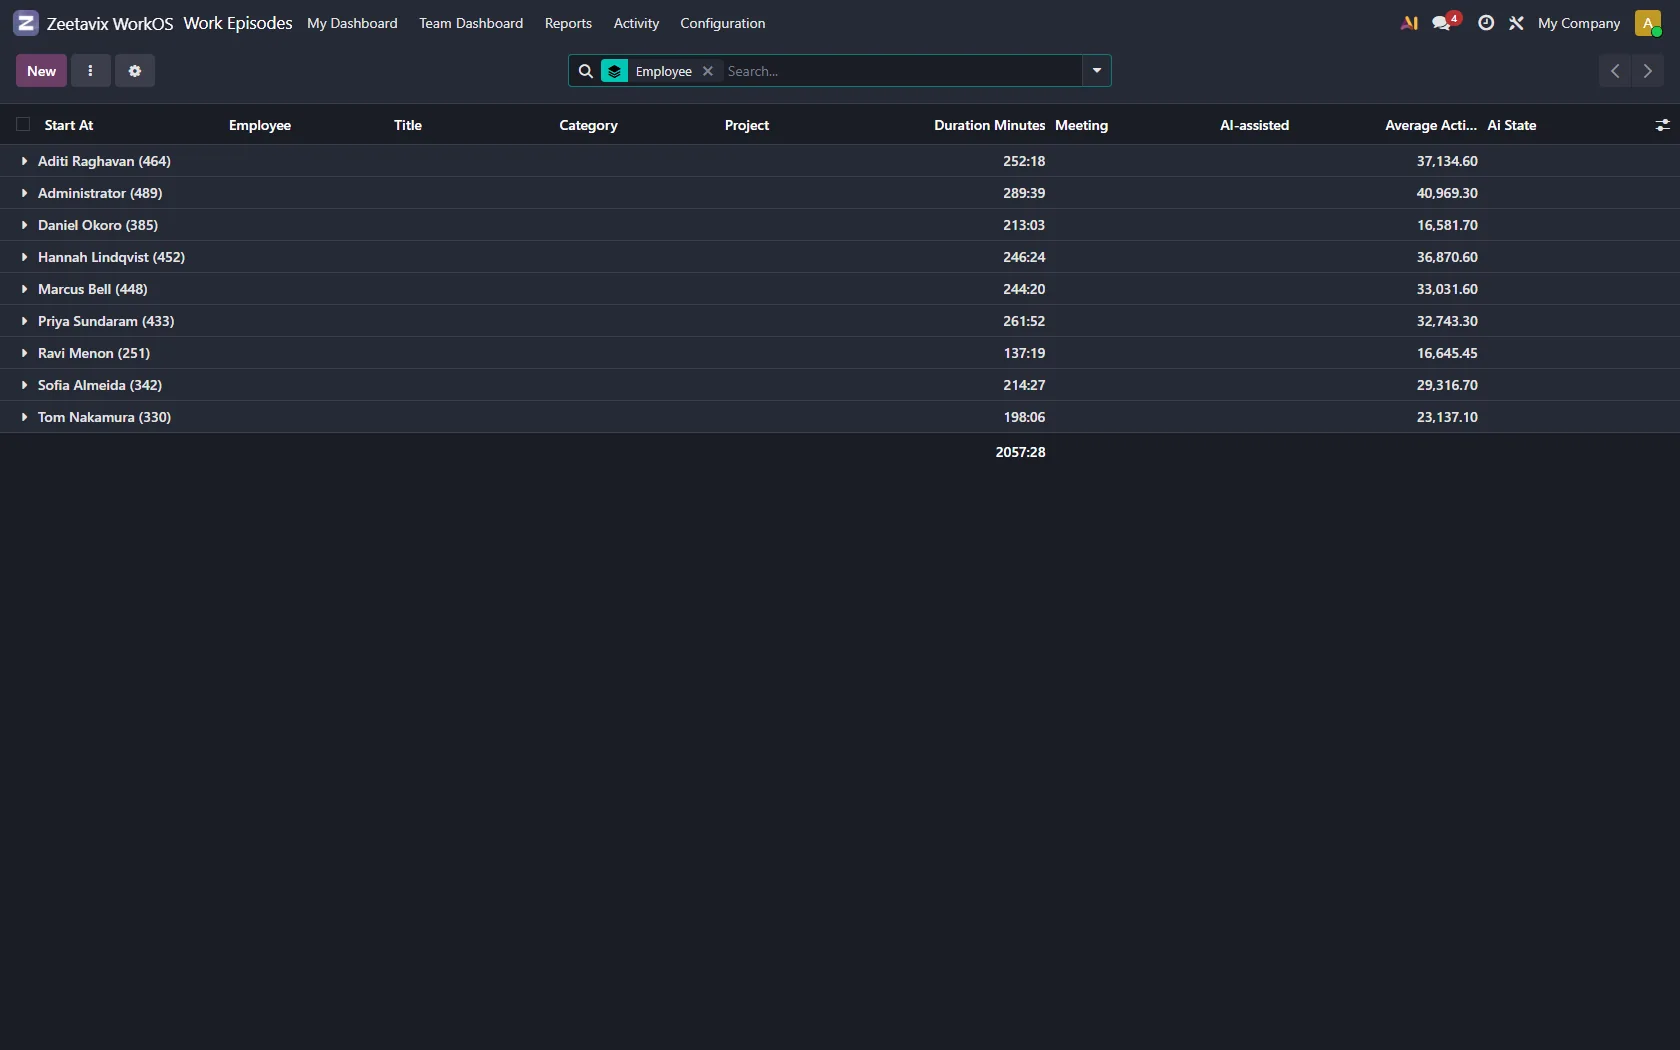
The trail underneath
Every figure is an aggregate of these: raw events, episodes, devices, who is online.
Read the chapter →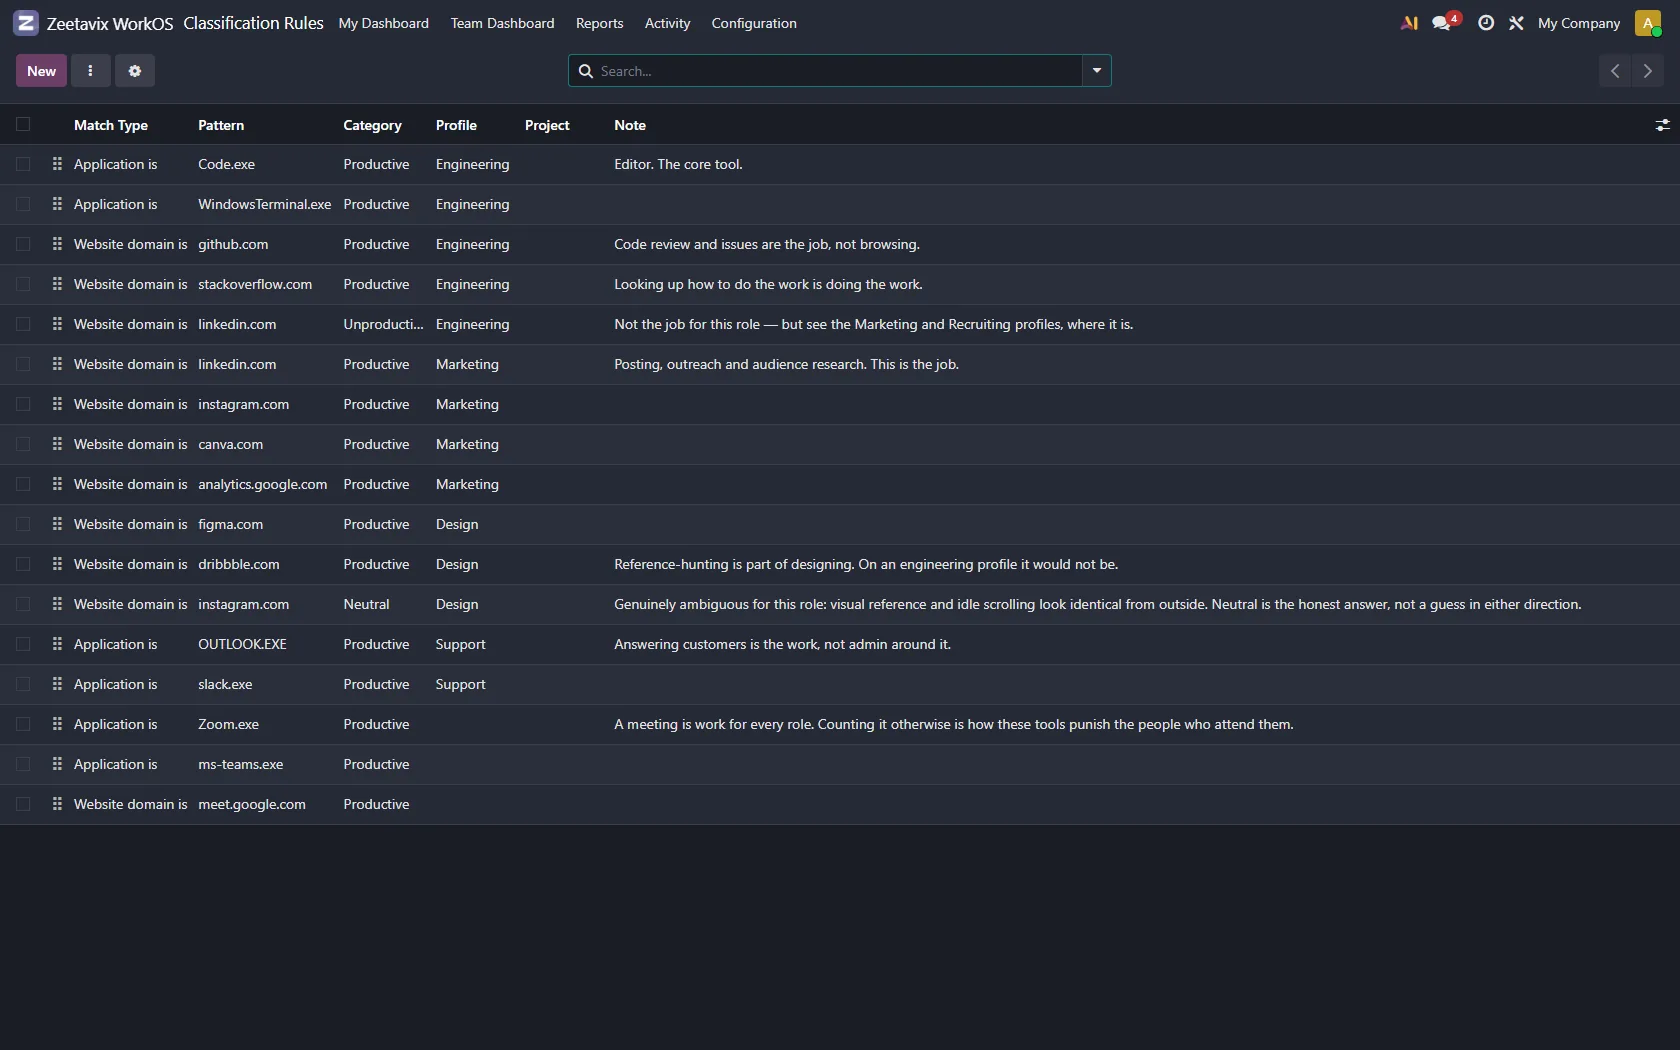
Teaching it your work
Categories, rules in evaluation order, per-department profiles, and dated rates.
Read the chapter →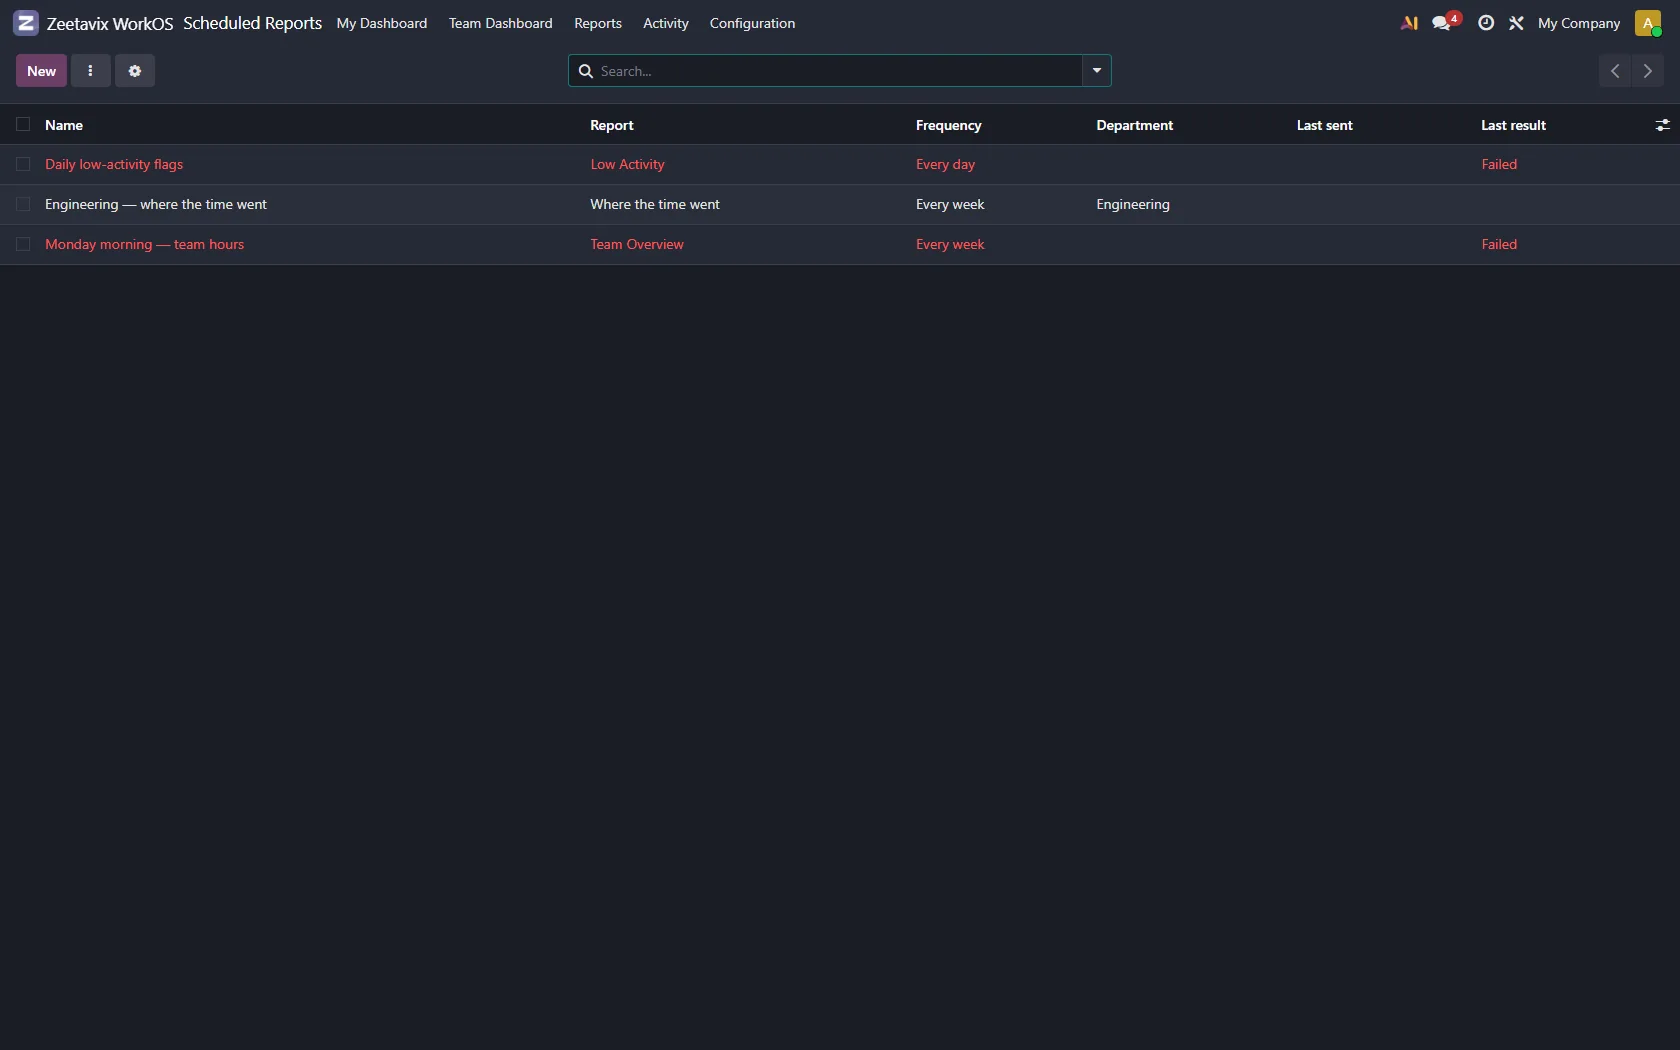
Reports that arrive on their own
The screens are there when you look. Most weeks nobody looks.
Read the chapter →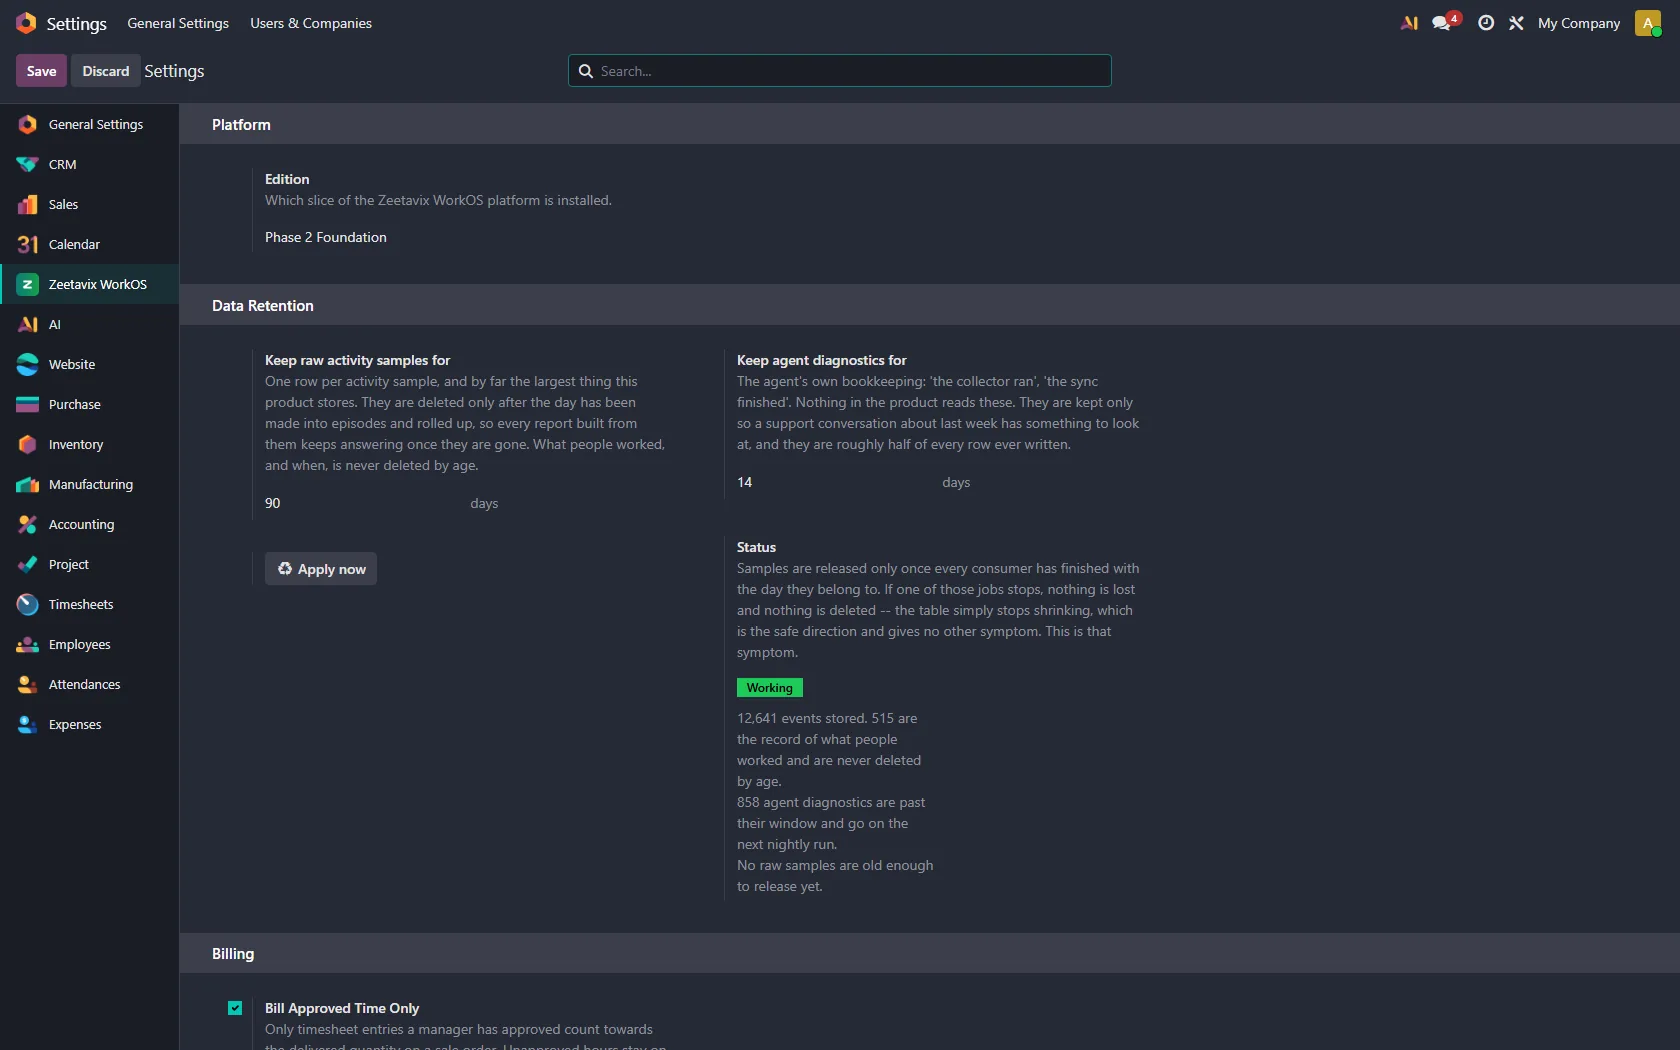
Settings, privacy and retention
What is captured, who can read it, and how long it is kept.
Read the chapter →Before any of it
Two installs, in this order. The Odoo module goes in your
addons_path; the desktop app goes on each machine you want to
track. Both are on the downloads page, with the
two steps people actually get stuck on written out.
There is no account to create and no key to enter. The desktop app opens your browser, you approve the machine in Odoo, and that machine is linked to your employee record from then on.
What happens on day one
- Somebody presses Start — or the global shortcut, which is what actually gets used.
- Timesheet lines appear in Odoo on the right project and task, written as the work happens rather than reconstructed on Friday.
- Their own dashboard fills in — hours, the shape of the day, activity, what they have on.
- Their manager’s briefing has something in it the next morning, and it links to the report each line came from.
Nothing above needs configuring first. Everything in chapter seven makes it sharper; none of it is a prerequisite.
Looking for something specific?
- Odoo Community time tracking — setup, compatibility and what gets written into your Community deployment.
- Odoo automatic timesheets — manual vs timer vs automatic, and the lifecycle from desktop work to timesheet line.
- Odoo attendance automation — derived clock-in/out, limitations, corrections and admin controls.
- Self-hosted employee time tracking — architecture, data ownership and privacy boundaries.
- Odoo Timesheet Assistant alternative — factual comparison for teams deciding between the two.